")


Pacchetti I2P di Debian
Debian or Ubuntu, All Versions
The Debian packages should work on most platforms running:- Ubuntu (Bionic 18.04 and newer)
- Mint(Tara19) or newer
- Debian Linux (Buster and newer)
- Knoppix
- Opzione 1: Versioni recenti di Ubuntu e le sue derivate (Prova questa se non usi Debian)
- Opzione 2: Debian (incluse le derivate di Debian)
Instructions for Ubuntu and derivatives like Linux Mint & Trisquel
Aggiunta di PPA tramite riga di comando e installazione di I2P
-
Apri un terminale e inserisci:
sudo apt-add-repository ppa:i2p-maintainers/i2p
This command will add the PPA to/etc/apt/sources.list.dand fetch the gpg key that the repository has been signed with. The GPG key ensures that the packages have not been tampered with since being built. -
Notifica al tuo gestore di pacchetti il nuovo PPA inserendo:
sudo apt-get update
Questo comando recupererà l'elenco di programmi più recenti da ciascun repository attivato sul sistema, incluso il PPA aggiuntio con il comando di prima. - Adesso sei pronto per l'installazione di I2P!
sudo apt-get install i2p
Adding the PPA Using the Software Center
-
Open "Software and Updates" via the applications menu.
-
Select the "Other Software" tab and click the "Add" button at the
bottom to configure the PPA.

-
Add the PPA by pasting the URL:
ppa:i2p-maintainers/i2pinto the PPA dialog.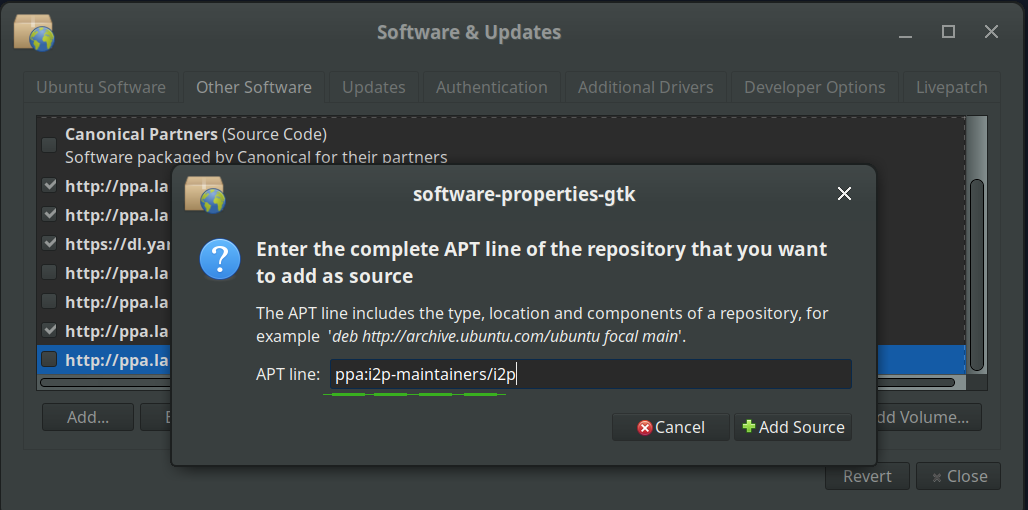
-
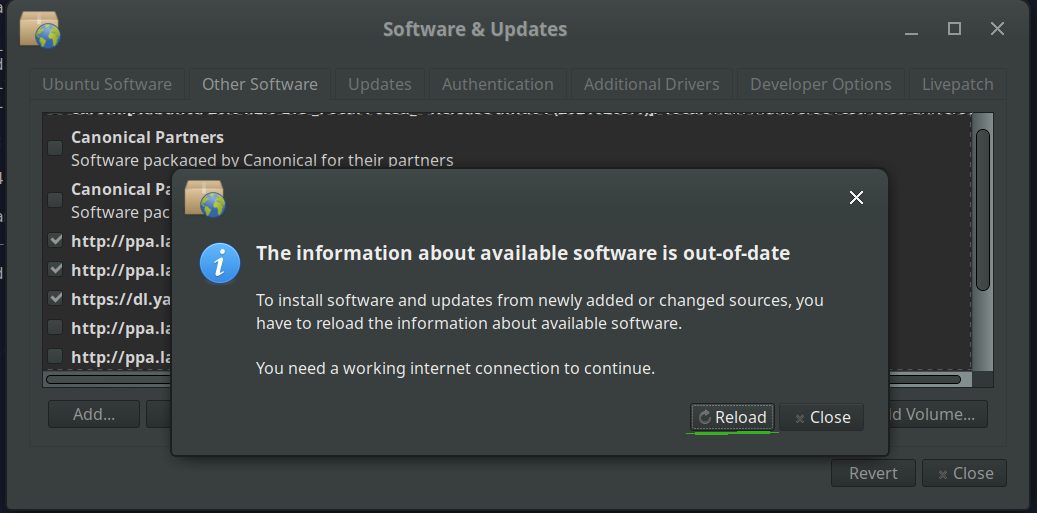
Download the repository information with the "Reload" button.
-
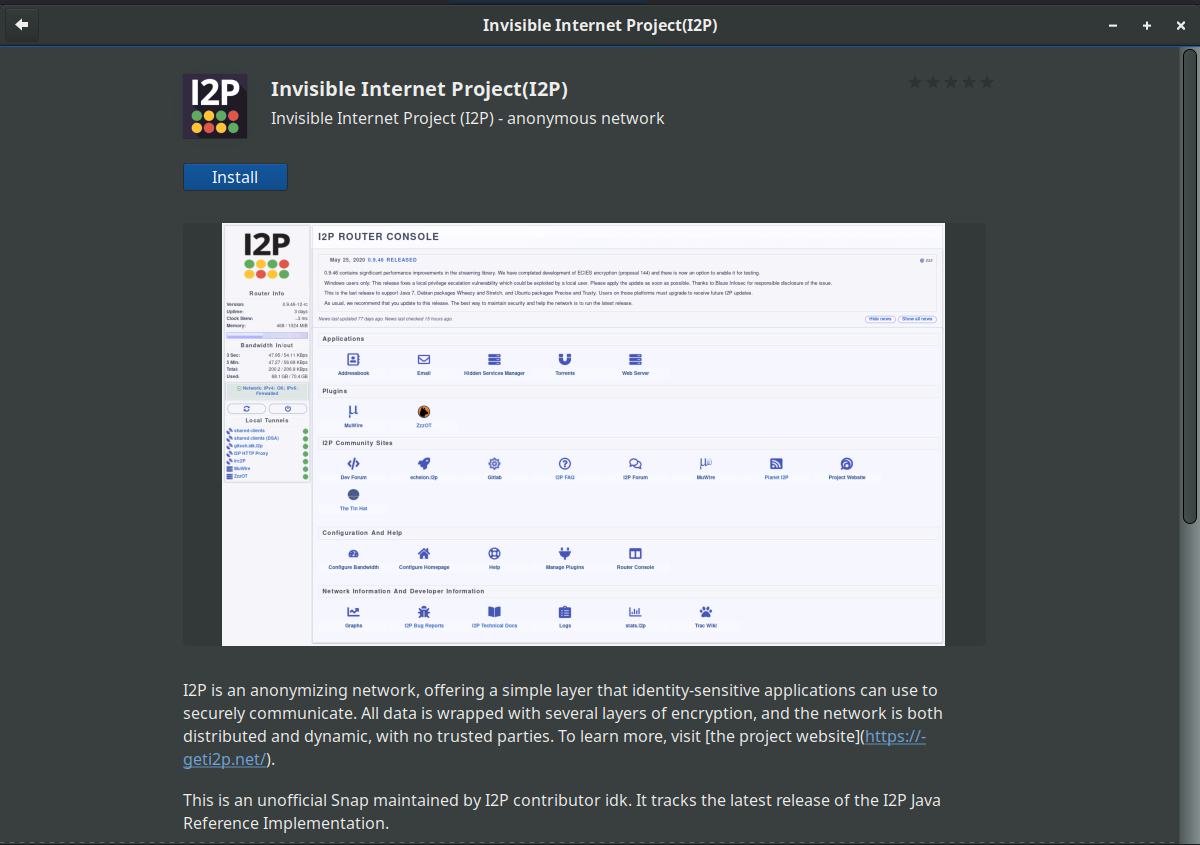
Install the I2P software using the "Software" tool from the
applications menu.
Istruzioni per Debian
NOTICE:
Our old Debian repos deb.i2p2.de and
deb.i2p2.no are EOL.
Please follow these instructions
to update to the new repository, deb.i2p.net.
Note: The steps below should be performed with root access (i.e., switching
user to root with su or by prefixing each command with sudo).
- ,
- Ensure that
apt-transport-https,curl,lsb-releaseare installed.sudo apt-get update sudo apt-get install apt-transport-https lsb-release curl -
Check which version of Debian you are using on this page at the Debian wiki
and verify with
/etc/debian_versionon your system. Then, for Debian Bullseye or newer distributions run the following command to create/etc/apt/sources.list.d/i2p.list.
# Use this command on Debian Bullseye or newer only. echo "deb [signed-by=/usr/share/keyrings/i2p-archive-keyring.gpg] https://deb.i2p.net/ $(lsb_release -sc) main" \ | sudo tee /etc/apt/sources.list.d/i2p.list# Use this command on Debian Downstreams like LMDE or ParrotOS only. echo "deb [signed-by=/usr/share/keyrings/i2p-archive-keyring.gpg] https://deb.i2p.net/ $(dpkg --status tzdata | grep Provides | cut -f2 -d'-') main" \ | sudo tee /etc/apt/sources.list.d/i2p.list# Use this command on Debian Buster or older only. echo "deb https://deb.i2p.net/ $(lsb_release -sc) main" \ | sudo tee /etc/apt/sources.list.d/i2p.list# Use this command on Debian Buster or older only. echo "deb https://deb.i2p.net/ $(dpkg --status tzdata | grep Provides | cut -f2 -d'-') main" \ | sudo tee /etc/apt/sources.list.d/i2p.list - Download the key used to sign the repository:
curl -o i2p-archive-keyring.gpg https://geti2p.net/_static/i2p-archive-keyring.gpg - Display the key fingerprint.
gpg --keyid-format long --import --import-options show-only --with-fingerprint i2p-archive-keyring.gpg7840 E761 0F28 B904 7535 49D7 67EC E560 5BCF 1346 - Copy the keyring to the keyrings directory:
sudo cp i2p-archive-keyring.gpg /usr/share/keyrings/etc/apt/trusted.gpg.d.sudo ln -sf /usr/share/keyrings/i2p-archive-keyring.gpg /etc/apt/trusted.gpg.d/i2p-archive-keyring.gpg -
Notify your package manager of the new repository by entering:
sudo apt-get update - You are now ready to install I2P! Installing the
i2p-keyringpackage will ensure that you receive updates to the repository's GPG key.
sudo apt-get install i2p i2p-keyring
Dopo il completamento della procedura di installazione, puoi passare alla sezione successiva per avviare I2P e configurarlo per il tuo sistema.
Post-installazione
Usando questi pacchetti I2P, il router I2P può essere avviato nei tre modi che seguono:-
"a richiesta" usando lo script i2prouter. Ti basta eseguire "
i2prouter
start
" da riga di comando. (Nota: non usare sudo e non eseguirlo con privilegi di amministrazione!) -
"a richiesta" senza il wrapper di servizi java
(necessario su sistemi diversi da Linux o diversi da x86) eseguendo "
i2prouter-nowrapper". (Nota: strong>non/u> usare sudo e non eseguirlo con privilegi di amministrazione!) -
come servizio che viene eseguito automaticamente all'avvio del sistema, anche
prima di effettuare l'accesso. Il servizio può essere attivato con "
dpkg-reconfigure
i2p
" con privilegi di amministrazione o usando sudo. Questa è la modalità consigliata.
Per la primissima installazione, ricorda di regolare il tuo NAT o firewall se puoi. Le porte da inoltrare possono essere trovate nella pagina di configurazione di rete nel console router. Se serve aiuto in merito al port forwarding, è possibile trovare qualche dritta su portforward.com.
Esamina e modifica le impostazioni della larghezza di banda nella pagina di configurazione, perché le impostazioni predefinite di 96 KB/s per il download e 40 KB/s per l'upload sono abbastanza conservative.
If you want to reach I2P Sites via your browser, have a look on the browser proxy setup page for an easy howto.