")


Pacotes do I2P para Debian
Debian ou Ubuntu, todas as versões
Os pacotes Debian devem funcionar na maioria das plataformas em execução:- Ubuntu (Bionic 18.04 e mais recente)
- Mint(Tara19) ou mais recente
- Debian Linux (Buster e mais recente)
- Knoppix
- Opção 1: Versões recentes do Ubuntu e seus derivados (Tente este se não estiver usando Debian)
- Opção 2: Debian (incluindo derivados do Debian)
Instruções para Ubuntu e derivados como Linux Mint & Trisquel
Adicionando o PPA por linha de comando e instalando I2P
-
Abra um terminal e digite:
sudo apt-add-repository ppa:i2p-maintainers/i2p
Esse comando adicionará o PPA para/etc/apt/sources.list.de obterá a chave gpg com a qual o repositório foi assinado. A chave GPG garante que os pacotes não foram adulterados desde sua construção. -
Notifique seu gerenciador de pacotes sobre o novo PPA digitando:
sudo apt-get update
Esse comando vai ler a última lista de software de cada repositório ativado em seu sistema, incluindo o PPA do I2P que foi adicionado com o comando anterior. - Agora está pronto para instalar o I2P!
sudo apt-get install i2p
Adicionando o PPA Usando o Centro de Software
-
Abra "Software e Atualizações" pelo menu de aplicações.
-
Selecione a aba "Outros Softwares" e clique no botão "Adicionar" na parte
inferior para configurar o PPA.

-
Adicione o PPA colando a URL:
ppa:i2p-maintainers/i2pno diálogo do PPA.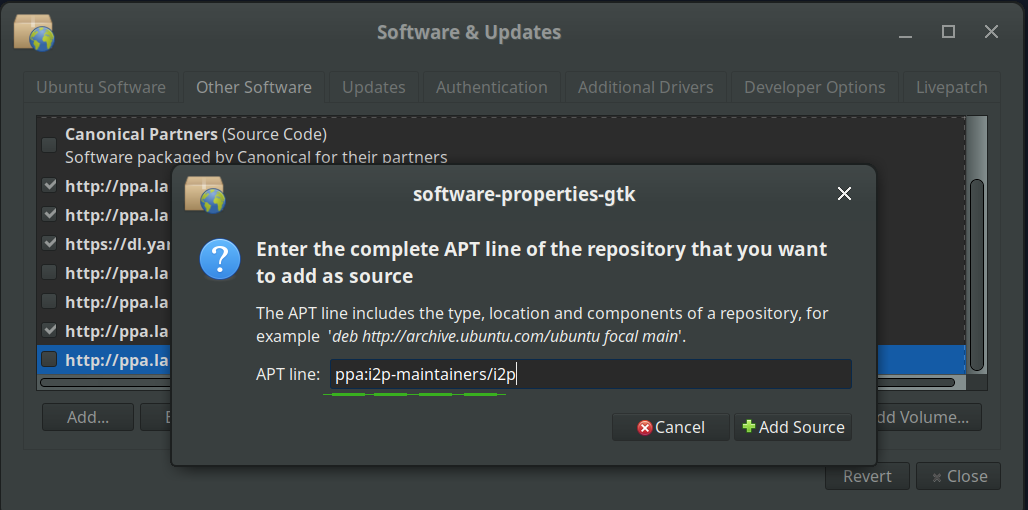
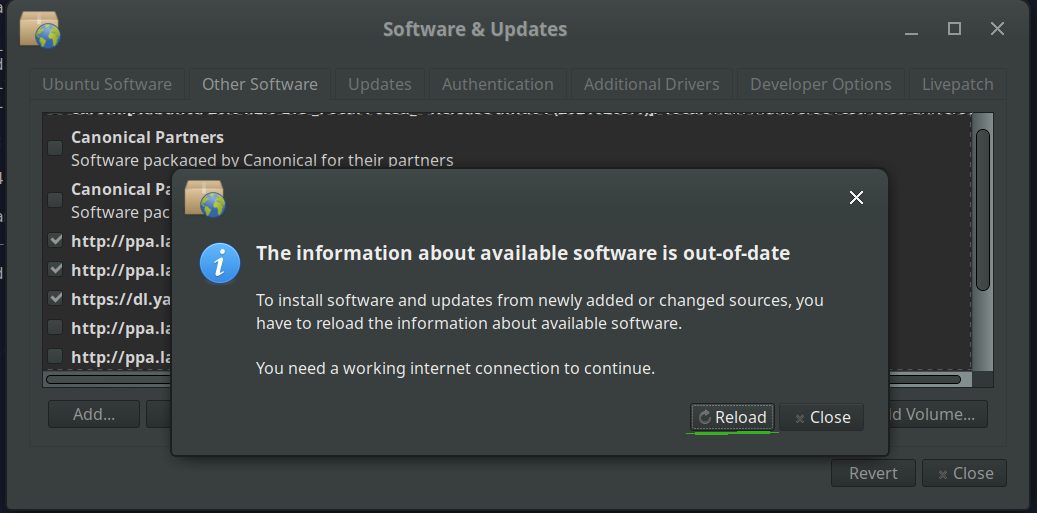
-
Baixe as informações do repositório com o botão "Recarregar".
-
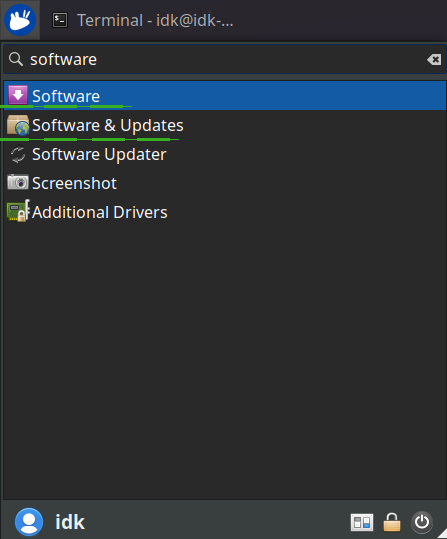
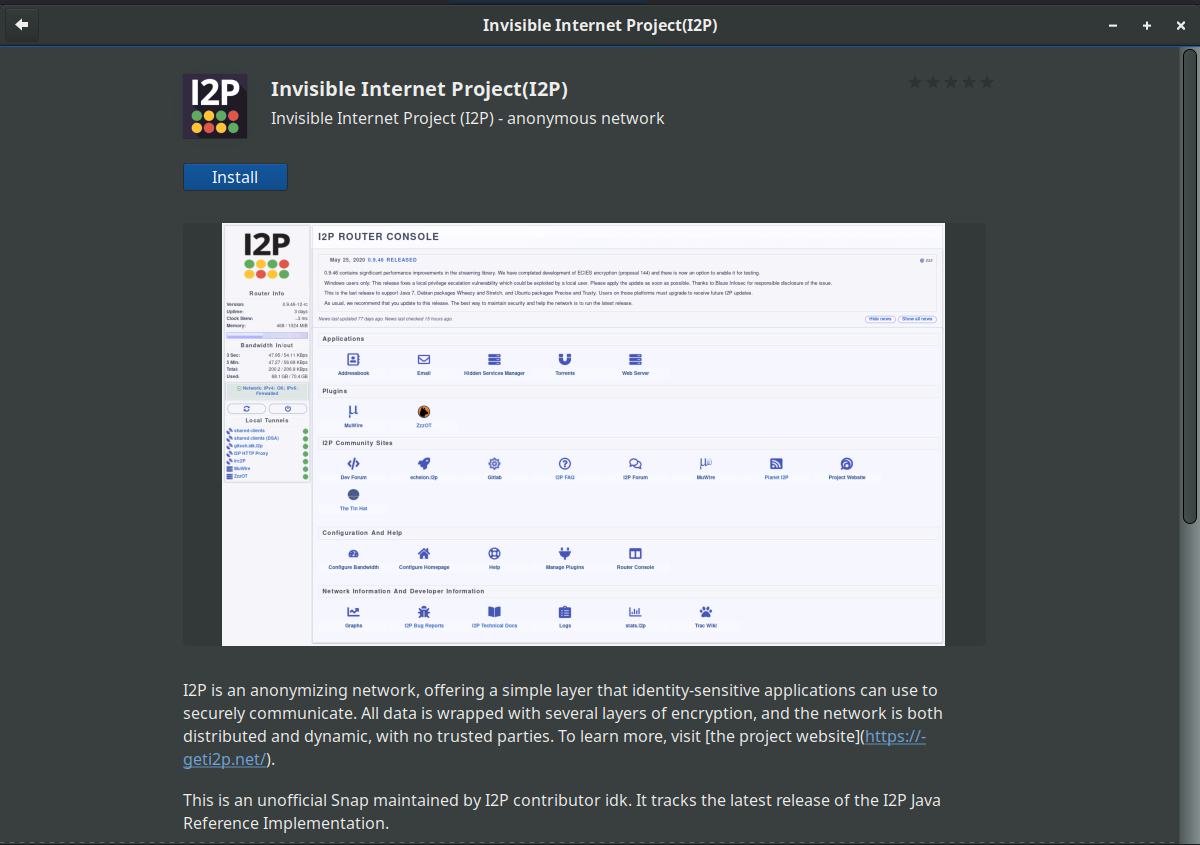
Instale o software I2P usando a ferramenta "Software" do
menu de aplicações.
Instruções para Debian
NOTICE:
Our old Debian repos deb.i2p2.de and
deb.i2p2.no are EOL.
Please follow these instructions
to update to the new repository, deb.i2p.net.
Note: Os passos abaixo devem ser realizados com acesso root (ou seja, mudando
de usuário para root com su ou pondo sudo antes de cada comando).
- ,
- Certifique-se de que
apt-transport-https,curl, elsb-releaseestão instalados.sudo apt-get update sudo apt-get install apt-transport-https lsb-release curl -
Verifique qual versão do Debian você está usando nesta página na wiki do Debian
e verifique com
/etc/debian_versionno seu sistema. Então, para o Debian Bullseye, ou distribuições mais novas, execute o seguinte comando para criar/etc/apt/sources.list.d/i2p.list.
# Use this command on Debian Bullseye or newer only. echo "deb [signed-by=/usr/share/keyrings/i2p-archive-keyring.gpg] https://deb.i2p.net/ $(lsb_release -sc) main" \ | sudo tee /etc/apt/sources.list.d/i2p.list# Use this command on Debian Downstreams like LMDE or ParrotOS only. echo "deb [signed-by=/usr/share/keyrings/i2p-archive-keyring.gpg] https://deb.i2p.net/ $(dpkg --status tzdata | grep Provides | cut -f2 -d'-') main" \ | sudo tee /etc/apt/sources.list.d/i2p.list# Use this command on Debian Buster or older only. echo "deb https://deb.i2p.net/ $(lsb_release -sc) main" \ | sudo tee /etc/apt/sources.list.d/i2p.list# Use this command on Debian Buster or older only. echo "deb https://deb.i2p.net/ $(dpkg --status tzdata | grep Provides | cut -f2 -d'-') main" \ | sudo tee /etc/apt/sources.list.d/i2p.list - Baixe a chave usada para assinar o repositório:
curl -o i2p-archive-keyring.gpg https://geti2p.net/_static/i2p-archive-keyring.gpg - Exiba a impressão digital da chave.
gpg --keyid-format long --import --import-options show-only --with-fingerprint i2p-archive-keyring.gpg7840 E761 0F28 B904 7535 49D7 67EC E560 5BCF 1346 - Copie o chaveiro para o diretório de chaveiros:
sudo cp i2p-archive-keyring.gpg /usr/share/keyrings/etc/apt/trusted.gpg.d.sudo ln -sf /usr/share/keyrings/i2p-archive-keyring.gpg /etc/apt/trusted.gpg.d/i2p-archive-keyring.gpg -
Notifique o seu gerenciador de pacotes sobre o novo repositório inserindo:
sudo apt-get update - Você agora está pronto para instalar a I2P! Instalar o pacote
i2p-keyringgarantirá que você receba atualizações à chave GPG do repositório.
sudo apt-get install i2p i2p-keyring
Após completar o processo de instalação, você pode passar para a próxima parte de inicialização e configuração do I2P em seu sistema.
Trabalho de pós-instalação
Usando estes pacotes do I2P, o roteador I2P pode ser iniciado das seguintes três formas:-
"sob demanda" usando o script i2prouter. Basta rodar "
i2prouter
start
" de um prompt de comando. (Atenção: Não use sudo nem rode como root!) -
"Sob demanda" sem o java service wrapper
(necessário em sistemas não-Linux/não-x86) rodando "
i2prouter-nowrapper". (Atenção: Não use sudo nem rode como root!) -
Como um serviço que automaticamente roda durante o boot, antes mesmo do login. O serviço pode ser ativado com "
dpkg-reconfigure
i2p
" como root ou usando sudo. Este é o modo de operação recomendado.
Quando estiveres instalando pela primeira vez, lembra-te de ajustar teu NAT/parede de fogo se puderes. As portas a serem redirecionadas podem ser encontradas na página de configuração da rede no painel do roteador. Se precisares de ajuda para entender como redirecionar portas, talvez portfoward.com pode ser útil.
Favor revisar e ajustar as configurações de banda napágina de configuração, tendo em vista que a configuração padrão de 96 KB/s para receber e 40 KB/s para enviar são bem conservadoras.
Se você quiser acessar Sites I2P através do seu navegador, dê uma olhada na página configuração de proxy do navegador para um tutorial fácil.