")


Paket I2P Debian
Debian atau Ubuntu, Semua Versi
Paket Debian seharusnya dapat bekerja pada sebagian besar platform yang menjalankan:- Ubuntu (Bionic 18.04 dan versi lebih baru)
- Mint(Tara19) atau lebih baru
- Debian Linux (versi Buster dan lebih baru)
- Knoppix
- Pilihan 1: Ubuntu versi baru-baru ini dan turunannya (Cobalah ini jika Anda tidak menggunakan Debian)
- Pilihan 2: Debian (termasuk turunannya)
Instruksi untuk Ubuntu dan turunannya seperti Linux Mint & Trisquel
Menambahkan PPA melalui baris perintah dan memasang I2P
-
Buka terminal dan masukkan:
sudo apt-add-repository ppa:i2p-maintainers/i2p
Perintah ini akan menambahkan PPA ke/etc/apt/sources.list.ddan mengambil kunci gpg yang sudah tanda tangani oleh repositori. Kunci GPG memastikan bahwa paket tidak dirusak sejak dibangun. -
Beritahukan pengelola paket Anda tentang PPA baru dengan memasukkan:
sudo apt-get update
Perintah ini akan mencari keterangan daftar perangkat lunak terbaru dari setiap repositori yang diaktifkan pada sistem Anda, termasuk PPA I2P yang telah ditambahkan dengan perintah sebelumnya. - Sekarang Anda sudah siap untuk memasang I2P!
sudo apt-get install i2p
Menambahkan PPA Menggunakan Software Center
-
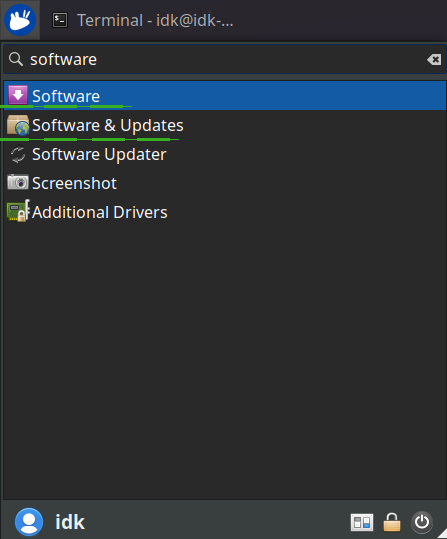
Buka "Software and Updates" melalui menu aplikasi.
-
Pilih tab "Other Software" dan klik tombol "Add" di
bawah untuk mengkonfigurasi PPA.

-
Tambahkan PPA dengan memasukkan URL:
ppa:i2p-maintainers/i2pke dalam kolom PPA.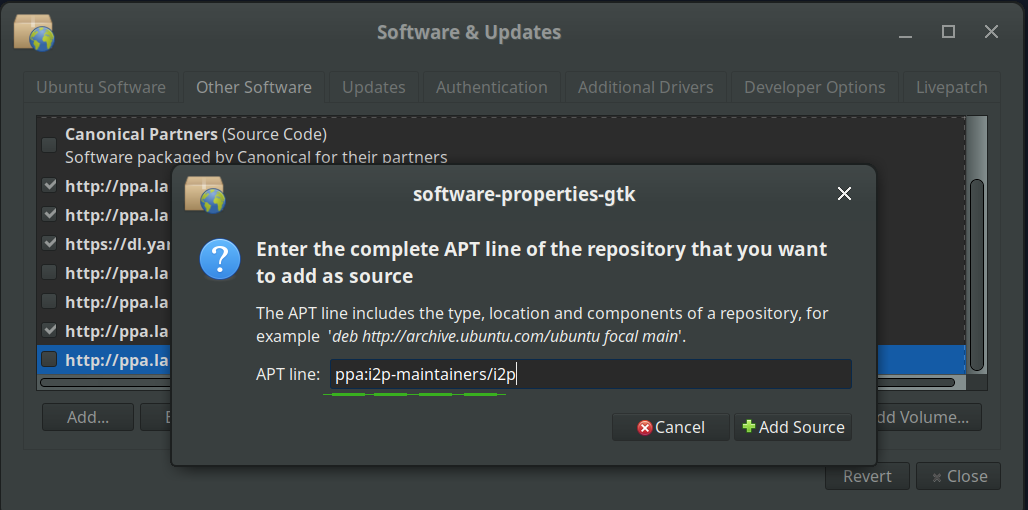
-
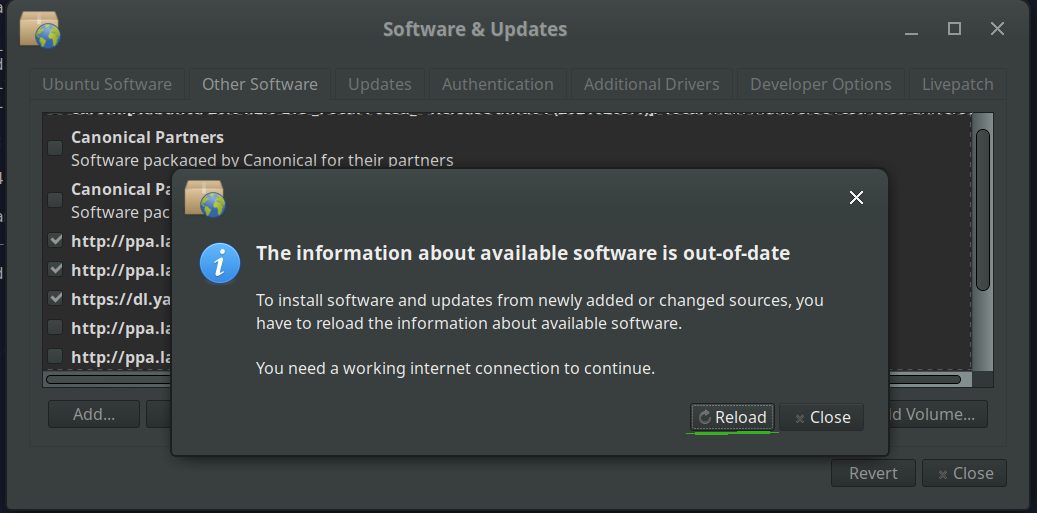
Unduh informasi repositori dengan menekan tombol "Reload".
-
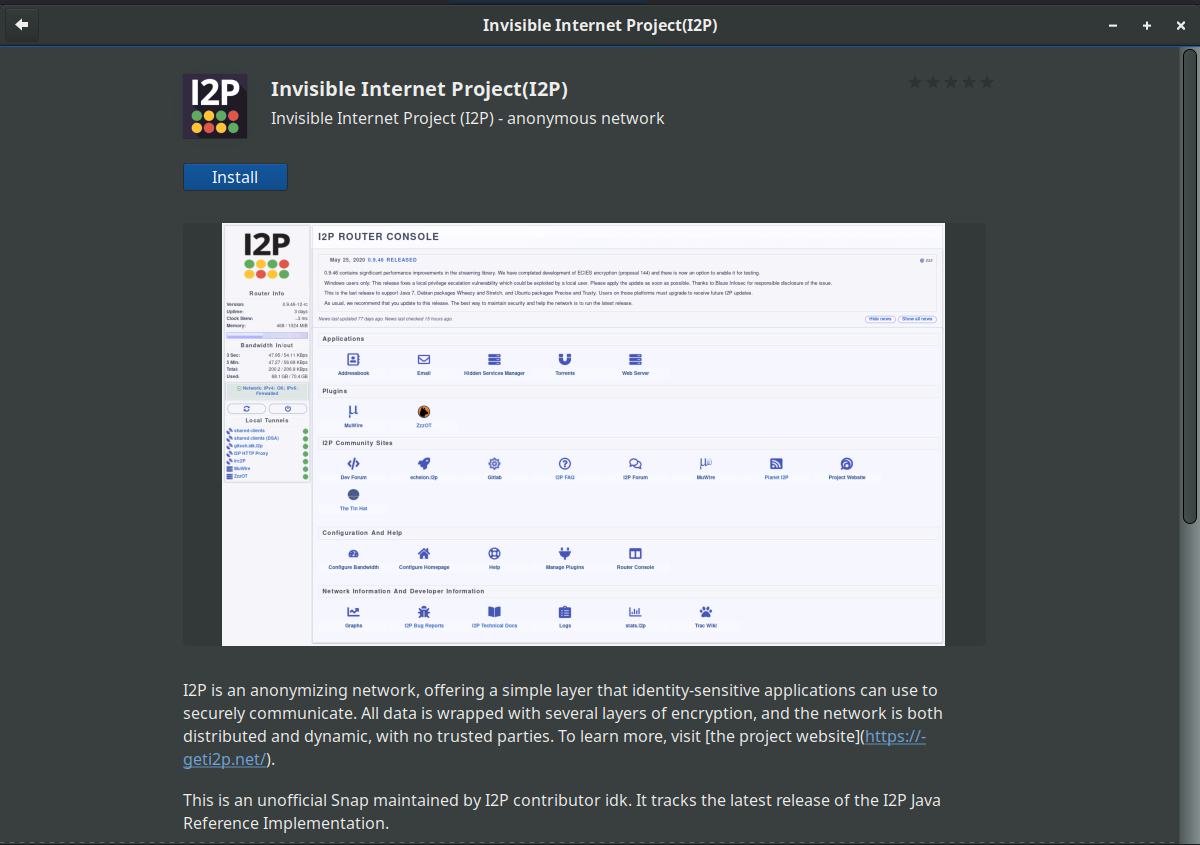
Instal perangkat lunak i2p menggunakan tool "Software" dari
menu aplikasi.
Instruksi untuk Debian
NOTICE:
Our old Debian repos deb.i2p2.de and
deb.i2p2.no are EOL.
Please follow these instructions
to update to the new repository, deb.i2p.net.
Catatan: Langkah-langkah dibawah ini harus dilaksanakan dengan akses root
(misalnya, pengguna beralih ke root dengan su atau dengan mengawali setiap perintah dengan sudo).
- ,
- Pastikan
apt-transport-https,curl,lsb-releasetelah diinstal.sudo apt-get update sudo apt-get install apt-transport-https lsb-release curl -
Periksa versi Debian yang Anda gunakan di halaman ini di Debian Wiki
dan verifikasi dengan
/etc/debian_versiondi sistem Anda. Kemudian, untuk Debian Bullseye atau distribusi yang lebih baru menjalankan perintah berikut untuk membuat/etc/apt/sources.list.d/i2p.list.
# Use this command on Debian Bullseye or newer only. echo "deb [signed-by=/usr/share/keyrings/i2p-archive-keyring.gpg] https://deb.i2p.net/ $(lsb_release -sc) main" \ | sudo tee /etc/apt/sources.list.d/i2p.list# Use this command on Debian Downstreams like LMDE or ParrotOS only. echo "deb [signed-by=/usr/share/keyrings/i2p-archive-keyring.gpg] https://deb.i2p.net/ $(dpkg --status tzdata | grep Provides | cut -f2 -d'-') main" \ | sudo tee /etc/apt/sources.list.d/i2p.list# Use this command on Debian Buster or older only. echo "deb https://deb.i2p.net/ $(lsb_release -sc) main" \ | sudo tee /etc/apt/sources.list.d/i2p.list# Use this command on Debian Buster or older only. echo "deb https://deb.i2p.net/ $(dpkg --status tzdata | grep Provides | cut -f2 -d'-') main" \ | sudo tee /etc/apt/sources.list.d/i2p.list - Unduh kunci yang digunakan untuk menandatangani repositori:
curl -o i2p-archive-keyring.gpg https://geti2p.net/_static/i2p-archive-keyring.gpg - Tampilkan key fingerprint.
gpg --keyid-format long --import --import-options show-only --with-fingerprint i2p-archive-keyring.gpg7840 E761 0F28 B904 7535 49D7 67EC E560 5BCF 1346 - Salin keyring ke direktori keyrings:
sudo cp i2p-archive-keyring.gpg /usr/share/keyrings/etc/apt/trusted.gpg.d.sudo ln -sf /usr/share/keyrings/i2p-archive-keyring.gpg /etc/apt/trusted.gpg.d/i2p-archive-keyring.gpg -
Beritahukan pengelola paket Anda tentang repositori baru dengan memasukkan:
sudo apt-get update - Sekarang Anda sudah siap untuk memasang I2P! Memasang paket
i2p-keyringakan memastikan bahwa Anda menerima pembaruan ke repositori kunci GPG.
sudo apt-get install i2p i2p-keyring
Setelah proses pemasangan selesai Anda dapat melanjutkan ke bagian berikutnya memulai I2P dan mengkonfigurasikannya untuk sistem Anda.
Beritahukan pemasangan bekerja
Menggunakan paket I2P tersebut maka router I2P dapat dimulai dalam tiga cara berikut:-
"on demand" menggunakan script i2prouter. Jalankan saja "
i2prouter
start
" dari command prompt. (Catatan: JANGAN gunakan sudo ataupun menjalankannya sebagai root!) -
"on demand" tanpa java service wrapper(diperlukan untuk sistem operasi non-Linux/non-x86) dengan menjalankan "
i2prouter-nowrapper(Catatan: Jangan gunakan sudo atau jalankan sebagai root!) -
sebagai service yang otomatis berjalan ketika sistem operasi dihidupkan, bahkan sebelum log in. Layanan ini dapat diaktifkan dengan "
dpkg-reconfigure
i2p
" sebagai root atau menggunakan sudo. Ini adalah cara operasi yang direkomendasikan.
Ketika anda menginstal I2P untuk pertama kalinya, harap ingat untuk menyesuaikan NAT/firewall anda jika anda dapat melakukannya. Semua port yang dapat di-forward dapat dilihat pada network configuration page di router console. Jika petunjuk untuk port forwarding diperlukan, silakan baca portforward.com.
Harap meninjau dan menyesuaikan pengaturan bandwidth pada halaman konfigurasi, karena pengaturan default 96 KB/s unduh / 40 KB/s unggah adalah cukup konservatif."
Jika anda ingin membuka situs I2P melalui browser anda, lihat halaman pengaturan proxy di browser untuk petunjuk cara penggunaan yang mudah.