")


Tutorial for setting up git access through an I2P Tunnel. This tunnel will act as your access point to a single git service on I2P. It is part of the overall effort to transition I2P from monotone to Git.
Before anything else: Know the capabilities the service offers to the public
Depending on how the git service is configured, it may or may not offer all services on the same address. In the case of git.idk.i2p, there is a public HTTP URL, and an SSH URL(g6u4vqiuy6bdc3dbu6a7gmi3ip45sqwgtbgrr6uupqaaqfyztrka.b32.i2p) to configure for your Git SSH client. Either can be used to push or pull, but SSH is recommended.
First: Set up an account at a Git service
To create your repositories on a remote git service, sign up for a user account at that service. Of course it’s also possible to create repositories locally and push them to a remote git service, but most will require an account and for you to create a space for the repository on the server. Gitlab has a very simple sign-up form:
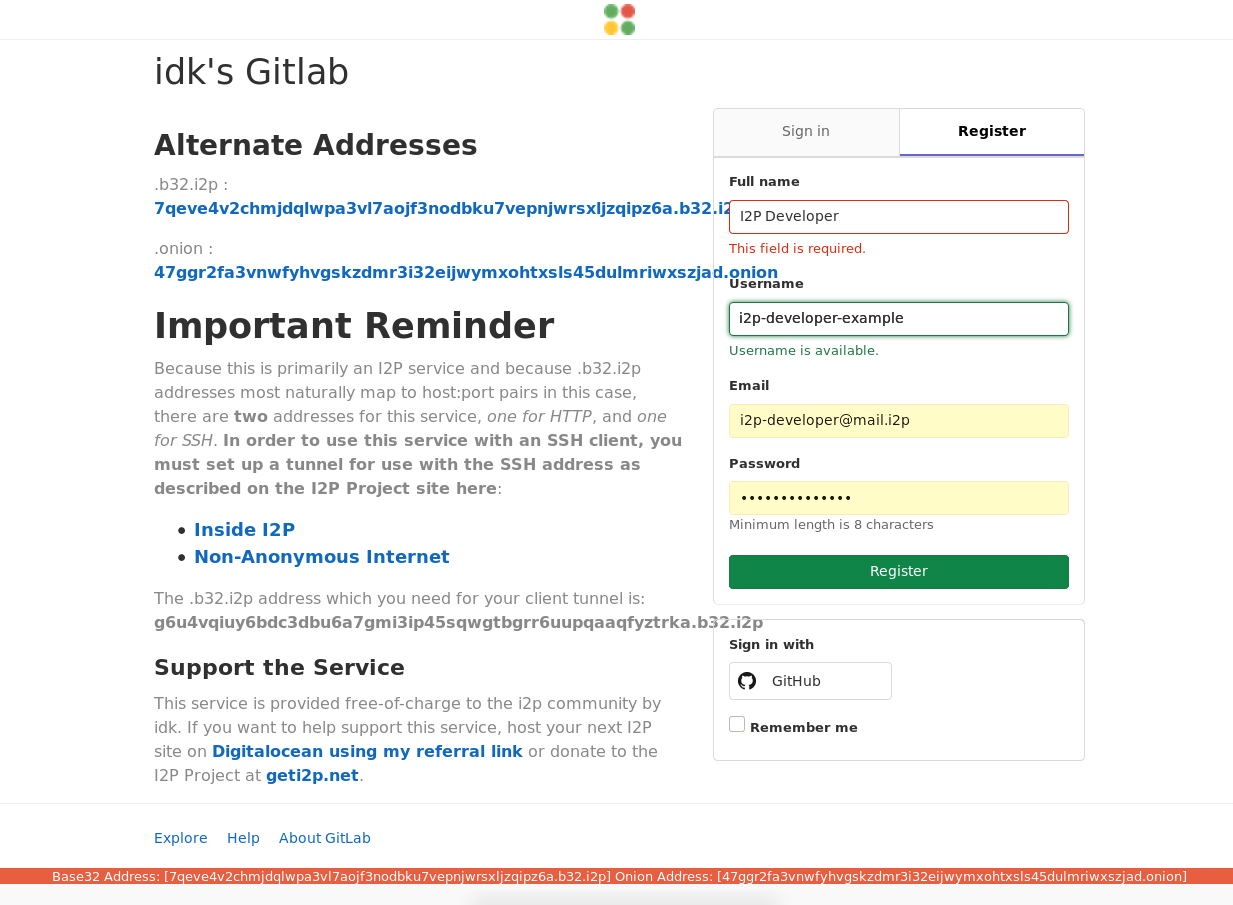
Registration is easy!
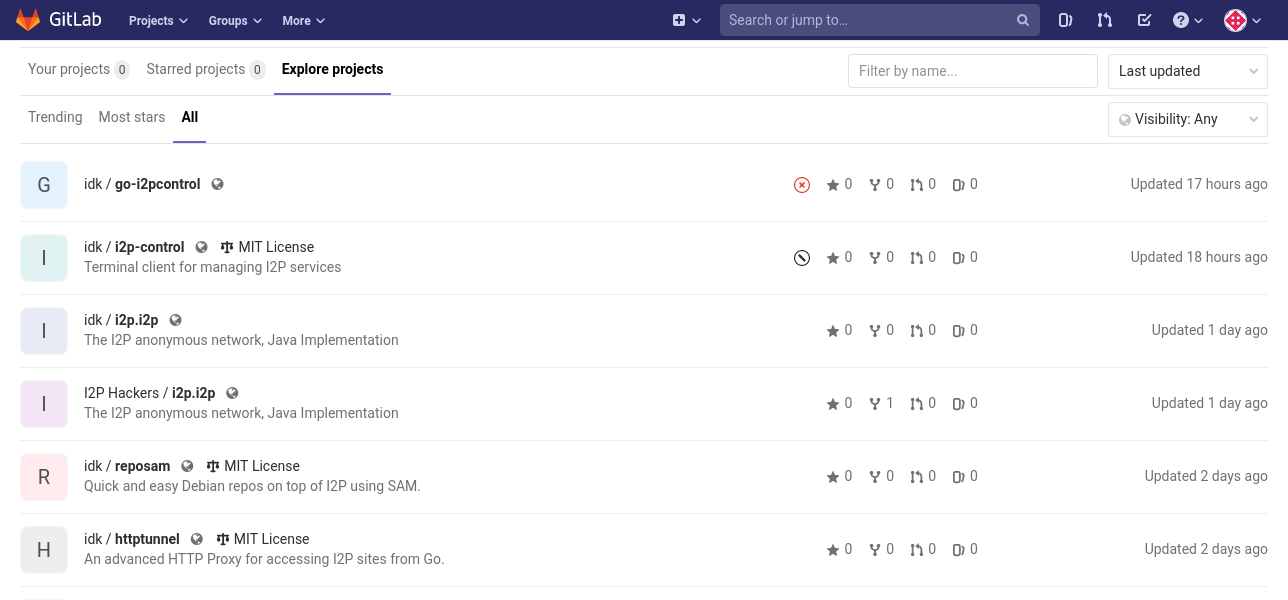
Second: Create a project to test with
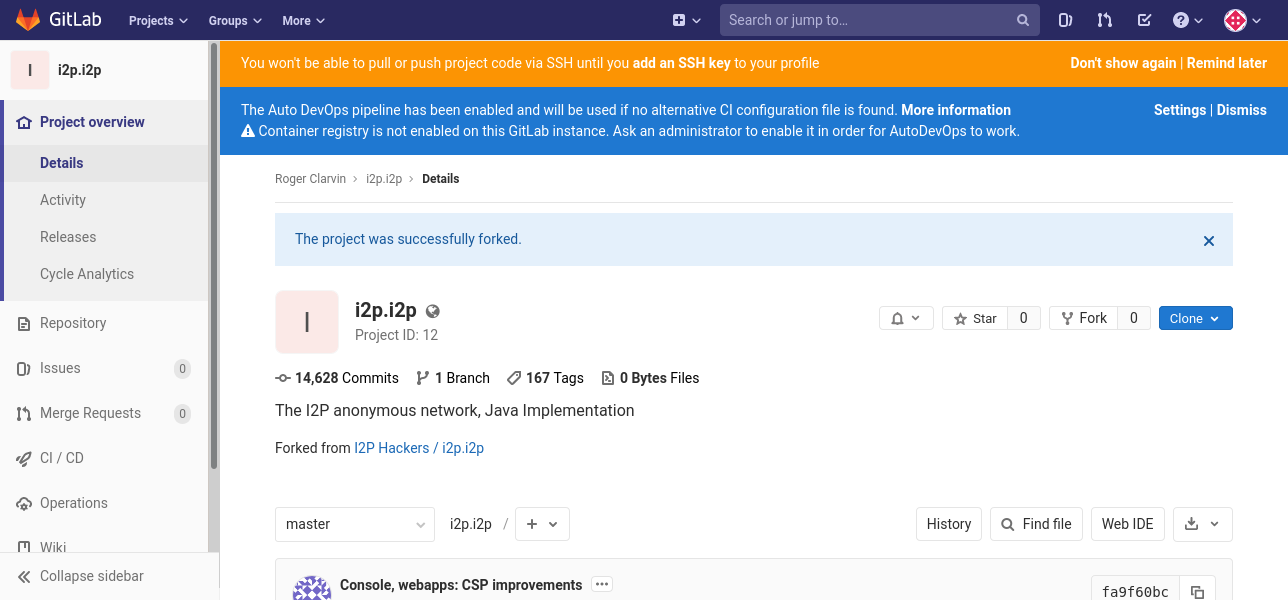
To make sure the setup process works, it helps to make a repository to test with from the server, and for the sake of this tutorial, we’re going to use a fork of the I2P router. First, browse to the I2P_Developers/i2p.i2p repository:
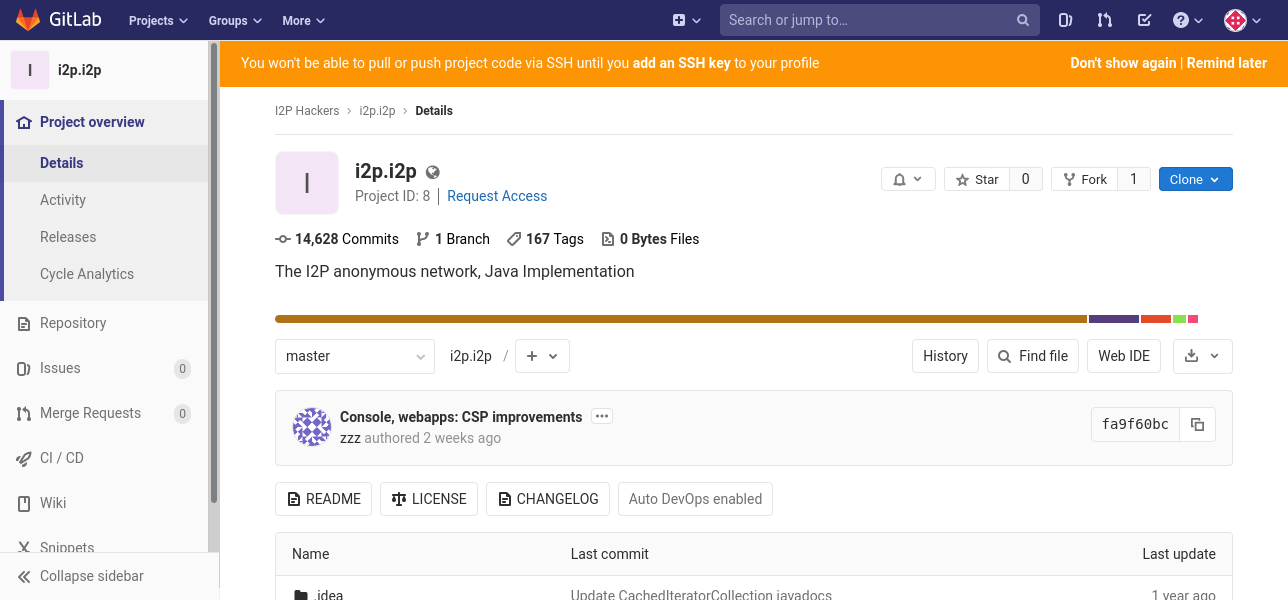
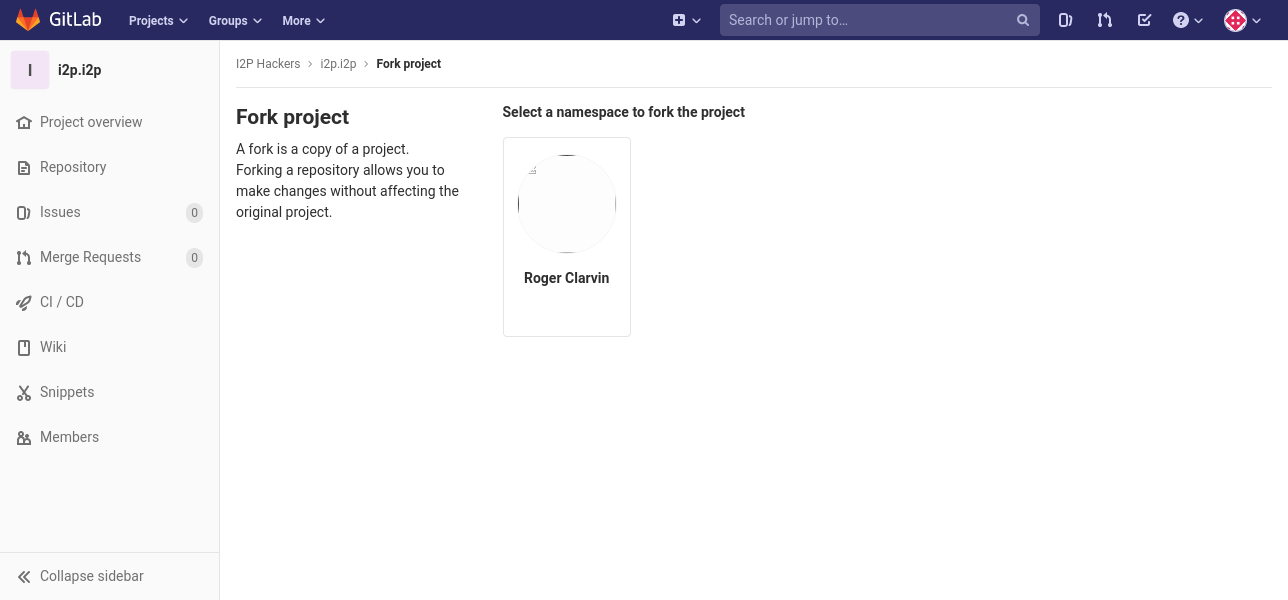
Then, fork it to your account.
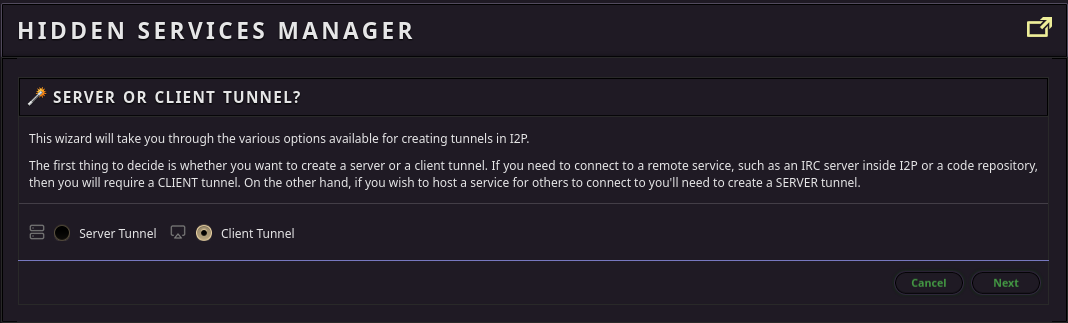
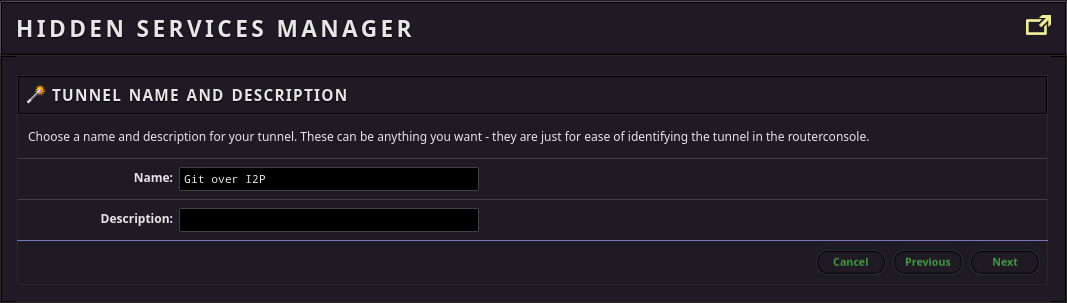
Third: Set up your git client tunnel
To have read-write access to my server, you’ll need to set up a tunnel for your SSH client. As an example, we’re going to use the HTTP tunnel instead, but if all you need is read-only, HTTP/S cloning, then you can skip all this and just use the http_proxy environment variable to configure git to use the pre-configured I2P HTTP Proxy. For example:
http_proxy=http://localhost:4444 git clone --depth=1 http://git.idk.i2p/youruser/i2p.i2p
git fetch --unshallow
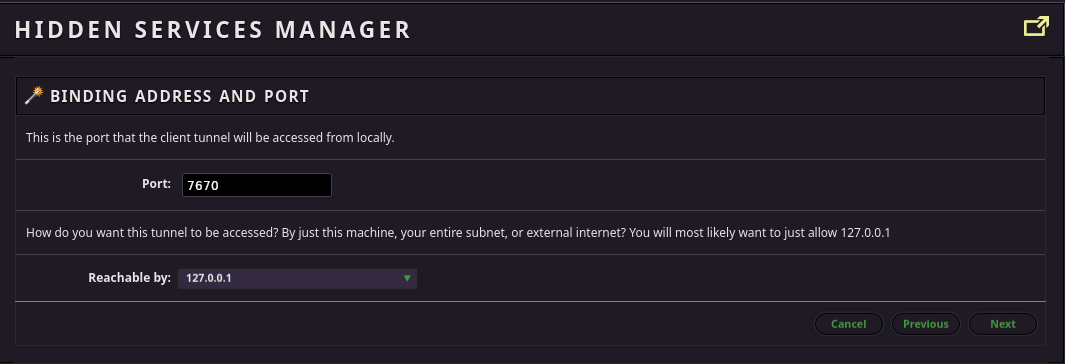
Then, add the address you will be pushing and pulling from. Note that this example address is for Read-Only HTTP-over-I2P clones, if your admin does not allow the git HTTP(Smart HTTP) protocol, then you will need to get the SSH clone base32 from them. Use this Base32 to connect the client tunnel to the Git SSH service: g6u4vqiuy6bdc3dbu6a7gmi3ip45sqwgtbgrr6uupqaaqfyztrka.b32.i2p
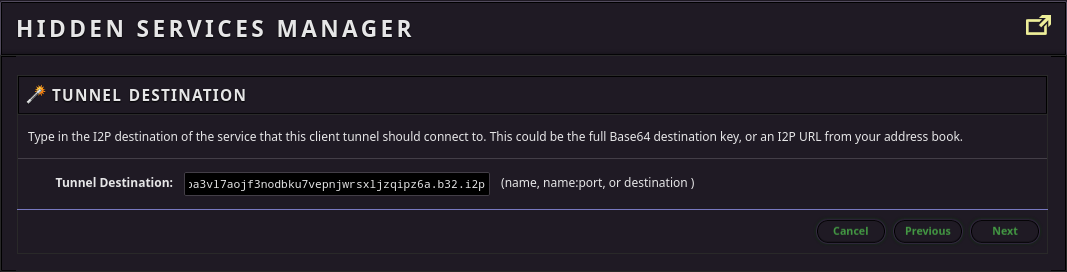
Pick a port to forward the I2P service to locally.
I use it alot, so I start my client tunnel automatically, but it’s up to you.
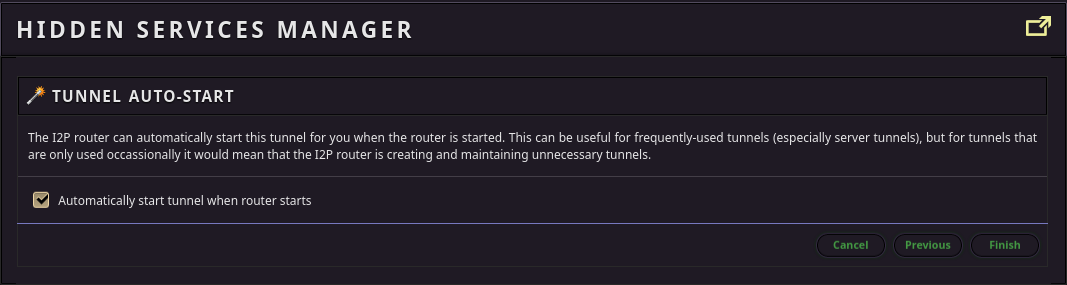
When you’re all done, it should look alot like this.

Fourth: Attempt a clone
Now your tunnel is all set up, you can attempt a clone over SSH.
GIT_SSH_COMMAND="ssh -p 7670" \
    git clone git@127.0.0.1:youruser/i2p.i2p
You might get an error where the remote end hangs up unexpectedly. Unfortunately git still doesn’t support resumable cloning. Until it does, there are a couple fairly easy ways to handle this. The first and easiest is to try and clone to a shallow depth:
GIT_SSH_COMMAND="ssh -p 7670" \
    git clone --depth 1 git@127.0.0.1:youruser/i2p.i2p
Once you’ve performed a shallow clone, you can fetch the rest resumably by changing to the repo directory and running:
git fetch --unshallow
At this point, you still don’t have all your branches yet. You can get them by running the following commands:
git config remote.origin.fetch "+refs/heads/*:refs/remotes/origin/*"
git fetch origin
Which tells git to alter the repository configuration so that fetching from origin fetches all branches.
If that doesn’t work, you can try opening the tunnel configuration menu and adding some backup tunnels.

Backup Tunnels
If that doesn’t work, then the next easy thing to try is to decrease the tunnel length. Don’t do this if you believe you are at risk of your code-contribution activity being de-anonymized by a well-resourced attacker seeking to run many malicious nodes and control your whole path. If that sounds unlikely to you then you can probably do it safely.

One-Hop Tunnels
Suggested Workflow for Developers!
Revision control can make your life easier, but it works best if you use it well! In light of this, we strongly suggest a fork-first, feature-branch workflow as many are familiar with from Github. In such a workflow, the master branch is used as a sort of “Trunk” for updates and is never touched by the programmmer, instead, all changes to the master are merged from branches. In order to do set up your workspace for this, take the following steps:
- Never make changes to the Master Branch. You will be using the master branch to periodially obtain updates to the official source code. All changes should be made in feature branches.
Set up a second remote in your local repository using the upstream source code.
git remote add upstream git@127.0.0.1:I2P_Developers/i2p.i2p
Pull in any upstream changes on your current master:
git pull upstream master
Before making any changes to the source code, check out a new feature branch to develop on:
git checkout -b feature-branch-name
When you’re done with your changes, commit them and push them to your branch
git commit -am "I added an awesome feature!"
git push origin feature-branch-name
Submit a merge request. When the merge request is approved and brought into the upstream master, check out the master locally and pull in the changes:
git checkout master
git pull upstream master
Whenever a change to the upstream master(I2P_Developers/i2p.i2p) is made, you can update your master code using this procedure as well.
git checkout master
git pull upstream master